Bright midday sun and strong backlight are where most exposures fall apart. You either blow out the highlights or crush the shadows to save them. This guide shows you how to read hard light, expose for the part of the frame that matters, and walk away with detail you can actually work with. No studio gear required.
Why Harsh Light Breaks Your Exposure
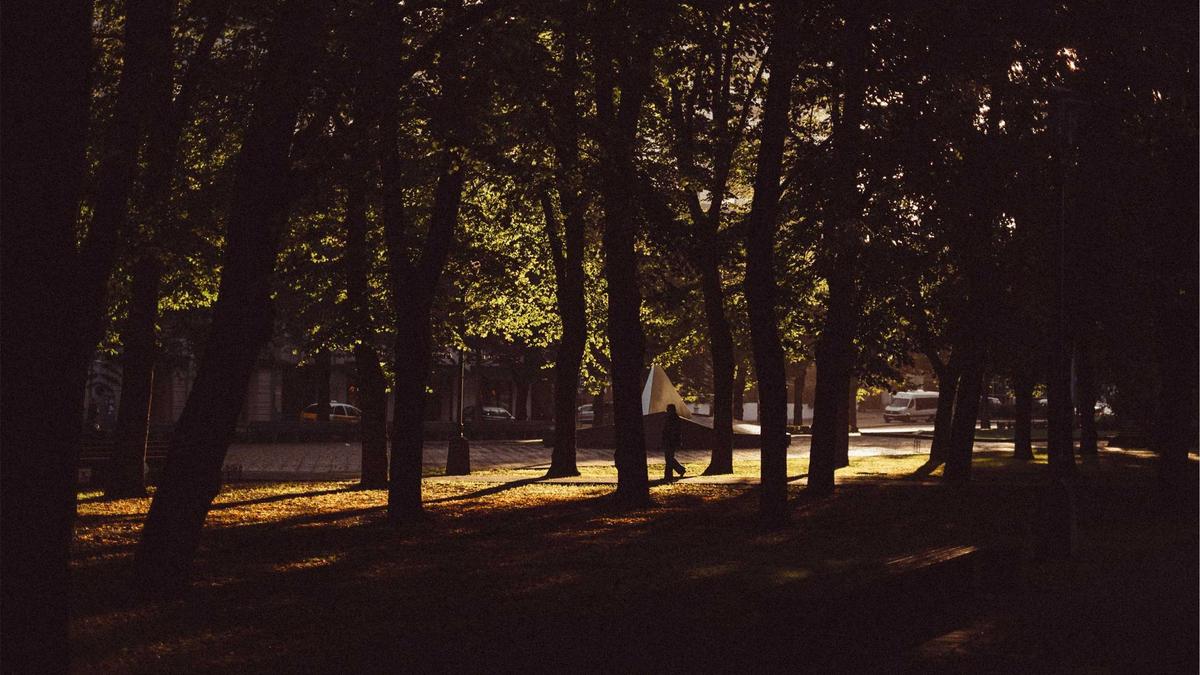
The problem is dynamic range: the distance between the brightest and darkest parts of a scene. On an overcast day that range is small, so almost any exposure looks fine. In direct sun, the range often exceeds what your sensor can record in a single frame. When that happens, something has to give. The camera cannot hold a bright sky and a shadowed face at the same time.
Highlights vs. shadows: which to protect
With digital sensors, blown highlights are usually gone for good. There is no data left to recover. Shadows, by contrast, hold more recoverable information, especially on modern cameras shooting RAW. So the working rule in hard light is simple: protect the highlights first. Expose so your brightest important area sits just below clipping, then lift the shadows later.
Reading the Light Before You Shoot
Metering modes matter here. Evaluative or matrix metering averages the whole scene, which fails in high contrast because a bright sky drags the exposure down and darkens your subject. Switch to spot or center-weighted metering and meter off the thing you care about, usually a face or the main subject.
Use the histogram, not the rear screen
The rear LCD lies in bright conditions. Your screen looks dark outdoors, so you overexpose to compensate and clip highlights without knowing it. Trust the histogram instead. If the graph slams hard against the right wall, you are losing highlight detail. Enable the highlight blink warning so clipped areas flash on playback.
Position matters more than settings
Before touching a dial, ask if you can move. Turning your subject so the sun rakes across them instead of hitting flat, or placing them at the edge of open shade, solves the contrast problem at the source. Light you can control beats light you have to fight.
A Real Scenario: Backlit Portrait at Noon
You are photographing someone at midday with the sun behind them. Meter the whole scene and the face turns into a silhouette because the camera exposes for the bright background. Here is a reliable fix. Spot meter on the face and let the background go bright. The sky may wash out, but the person is correctly exposed. To recover the background, add a reflector, a white wall, or even a bright shirt to bounce light back onto the shaded side of the face. Now the contrast range shrinks and both areas hold detail. If you have a flash, dialing in a touch of fill does the same job and lets you keep a richer sky.
Common Mistakes and How to Fix Them
- Trusting the LCD brightness. Fix: judge exposure by the histogram and highlight warnings, not the screen.
- Leaving matrix metering on in high contrast. Fix: switch to spot metering and meter the subject.
- Overexposing to brighten a dark screen. Fix: if anything, protect highlights and lift shadows in editing.
- Fighting flat overhead light. Fix: move the subject into open shade or backlight them and add fill.
- Shooting JPEG in tough light. Fix: shoot RAW so you keep shadow latitude for recovery.
Action Steps for Hard Light
- Shoot RAW to maximize recoverable detail.
- Set spot or center-weighted metering.
- Meter off your key subject, not the sky.
- Enable the histogram and highlight blink warning.
- Expose to keep important highlights just under clipping.
- Look for open shade or backlight before adjusting settings.
- Add fill light with a reflector or flash when contrast is extreme.
Conclusion
Harsh light is a range problem, not a bad-weather problem. Once you decide what to protect, meter deliberately, and shrink the contrast with position or fill, difficult sun becomes usable. Your next step: pick one bright afternoon this week, shoot the same backlit subject with matrix metering and then with spot metering, and compare the faces. The difference will make the habit stick.
For more background, see TG 88.
FAQ
Should I always expose to the right in bright light?
Expose to the right works when it does not clip highlights. In very high contrast, pushing exposure right risks losing the brightest detail. Get close to the right edge, but stop before the histogram clips.
Is a graduated ND filter worth it for harsh scenes?
For landscapes with a bright sky and darker foreground, yes. A grad ND darkens the sky so it fits your sensor range in one frame. For portraits it is less useful because subjects rarely fit a straight-line gradient.
Can I just fix everything in editing later?
You can recover shadows and reduce highlights somewhat, but clipped highlights hold no data to recover. Editing extends good exposure; it does not replace it.
Why does my subject look dark against a bright sky?
The meter is averaging the bright background and underexposing the subject. Spot meter on the subject, or add fill light to balance the two.
References
Ansel Adams, The Negative, for the underlying ideas behind the Zone System and metering for tonal placement. Your camera manufacturer’s manual remains the authoritative source for how your specific metering modes and highlight warnings behave.